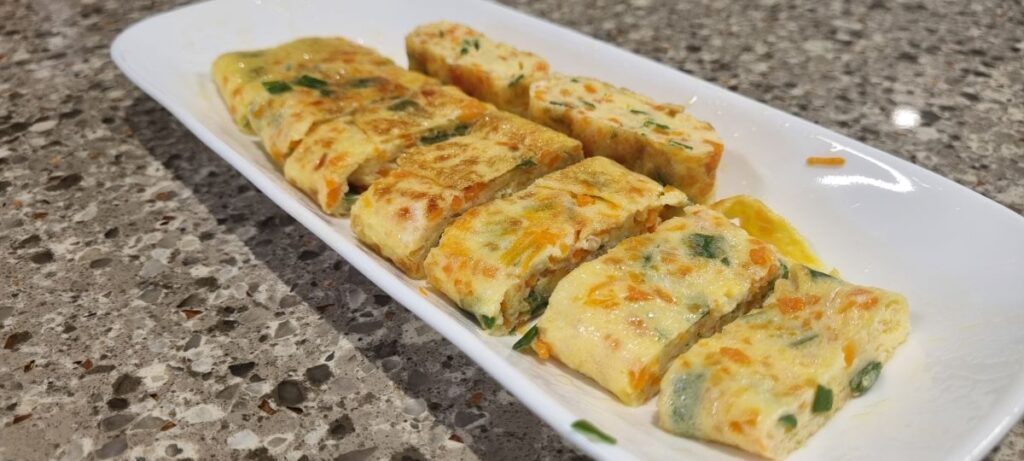
Today I made gyeranmari, a rolled omelette that’s a staple in Korean home cooking. It’s quick to make, packed with flavor, and super budget-friendly since it only needs a handful of ingredients. I’ll walk you through exactly how I made it. There are fancier, more advanced ways to roll gyeranmari, but today I’m sharing the easiest version anyone can follow.
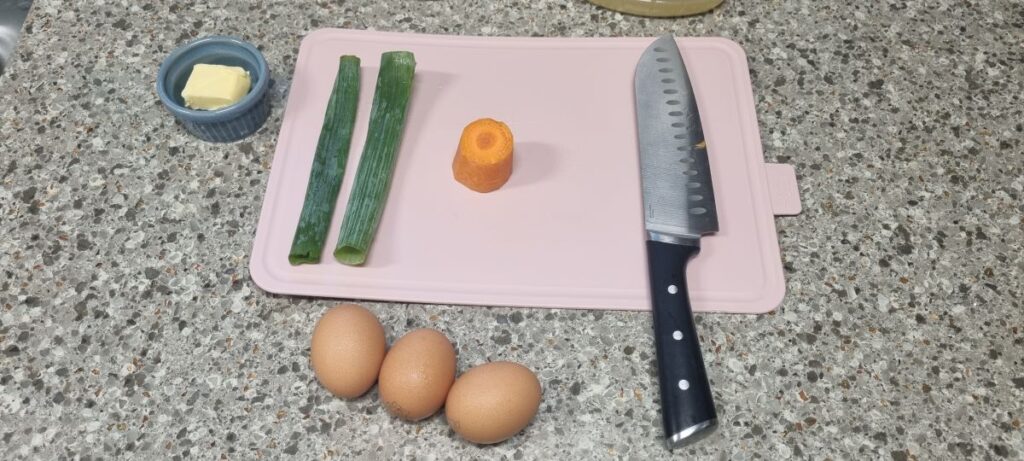
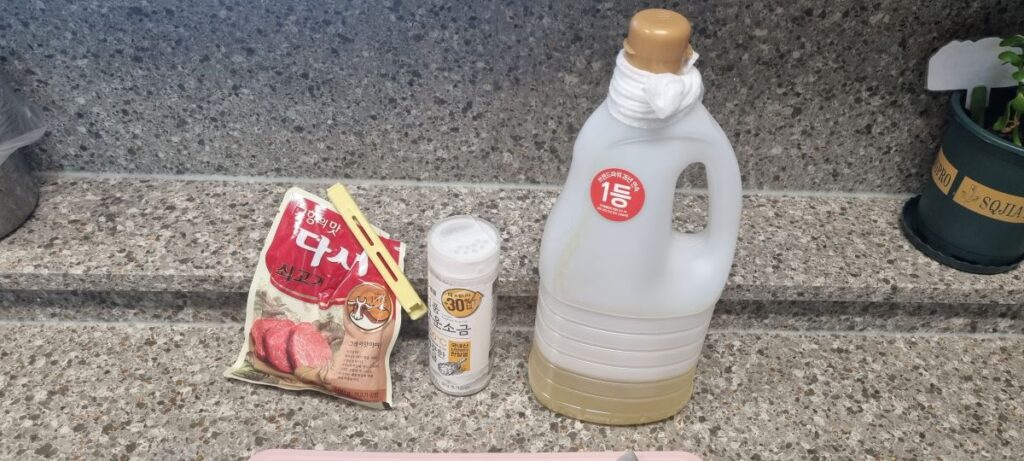
I prepped enough ingredients for a family of three. I’ll admit I don’t usually measure things precisely when I cook, so bear with me on the exact amounts. Here’s everything you’ll need.
Ingredients And Tools
Ingredients:
🔹Beef bouillon powder (dasida) – 1 teaspoon
🔹Salt – 1 teaspoon
🔹Cooking oil – 3 tablespoons
🔹Eggs – 3
🔹Butter – 2 pats
🔹Green onion (scallion) – 1 stalk
🔹Carrot – about 1/5 of a whole carrot
Tools:
🔸Cutting board
🔸Knife
🔸Frying pan
🔸Mixing bowl (for eggs and ingredients)
🔸Spoon
🔸Spatula
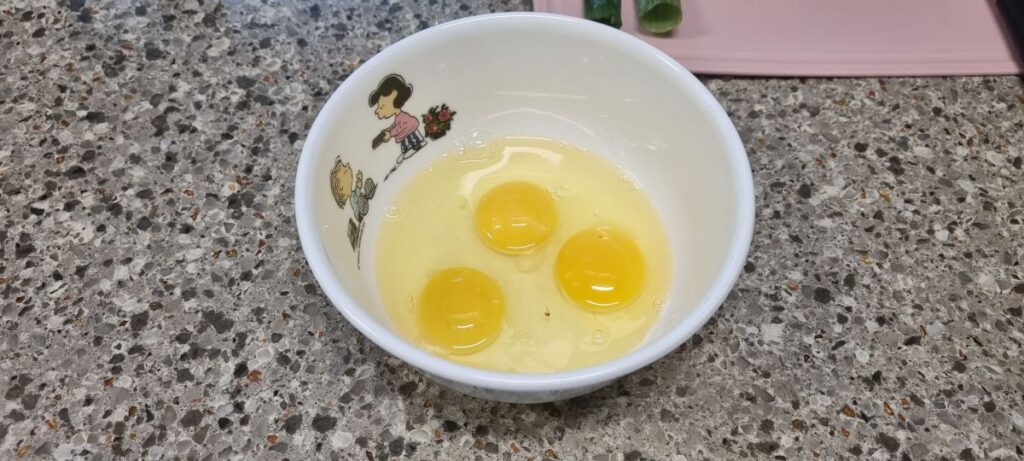
Crack the 3 eggs into a bowl (something like a cereal bowl works fine). Don’t stir yet — you’ll mix everything together once all the ingredients are in. Just a reminder: there are tons of ways to make gyeranmari, but this method is meant to be quick, easy, and beginner-friendly.
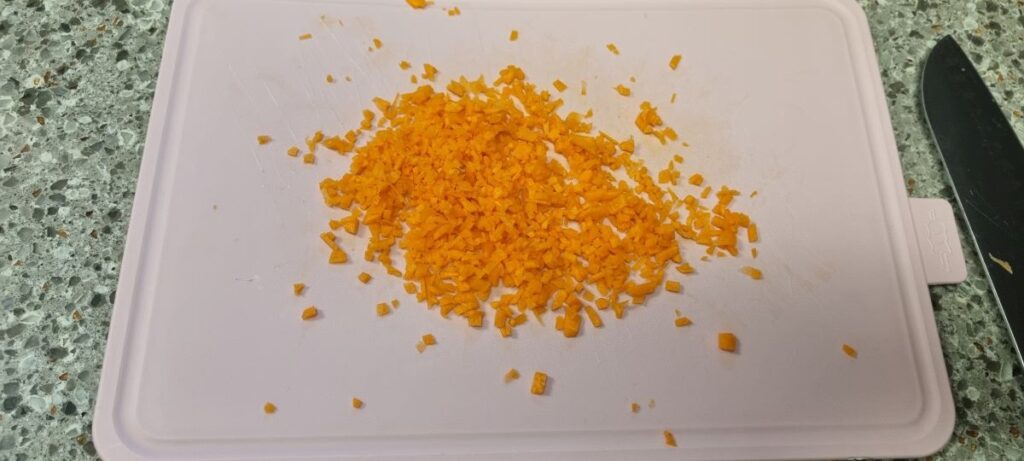
I used about 1/5 of a carrot, but feel free to use less depending on your taste, or swap it out for onion instead. My family loves veggies, so we tend to load up on carrots. When you cut the carrot, chop it as finely as you can. I used a knife, but if you have a mincing tool at home, that’ll make things even easier. Since the omelette cooks fast, if the carrot pieces are too big, you’ll end up biting into crunchy chunks that don’t taste great
— so mincing it finely is key. If you’re using onion instead, just cut it about the same size as the green onion pieces below.
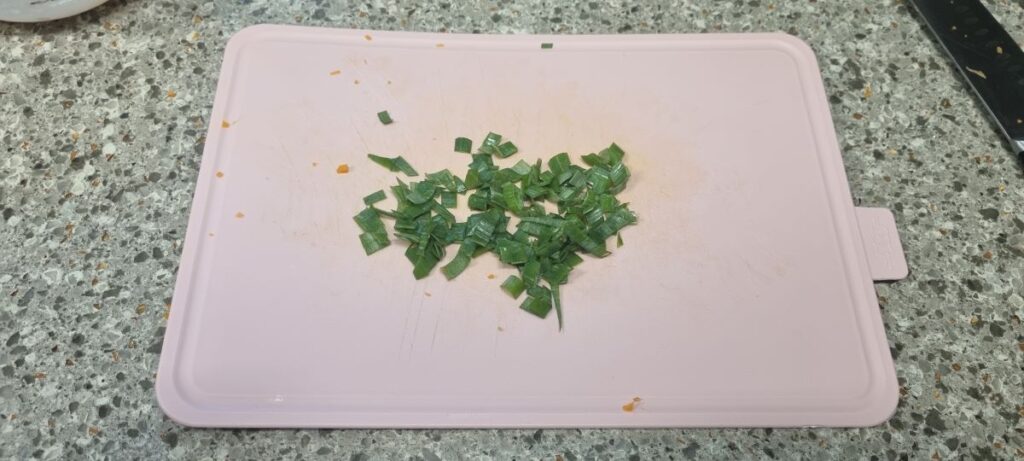
I used one stalk of green onion, sliced into pieces about the size of a pinky fingernail.
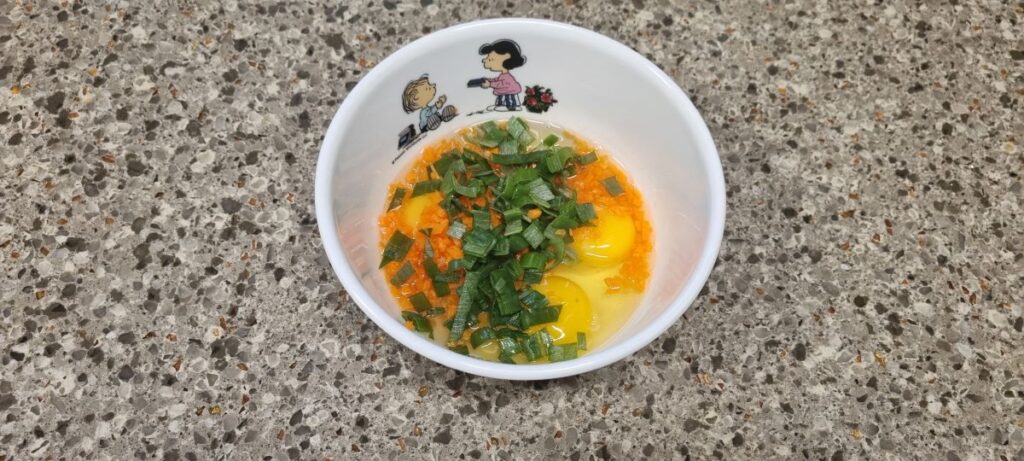
Add the chopped carrot and green onion into the egg bowl you set aside earlier.
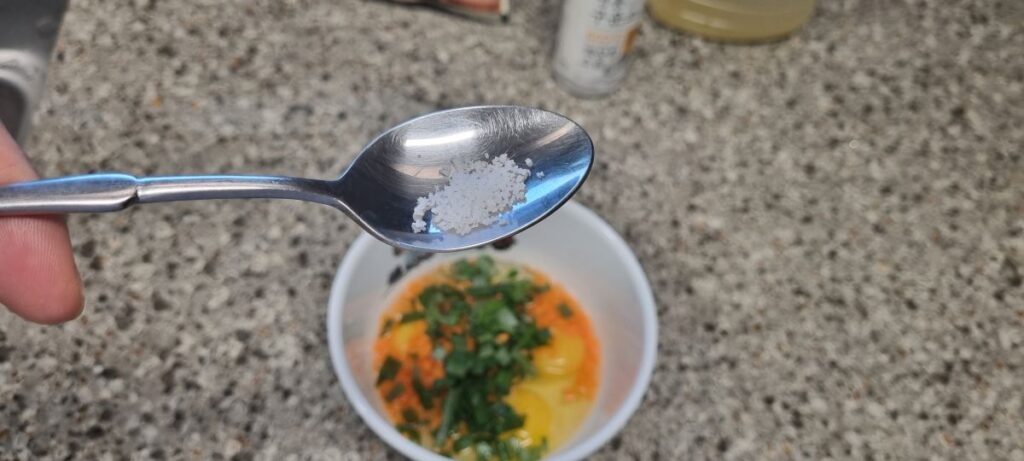
Now comes the seasoning step — this is what really shapes the flavor of your gyeranmari, and there are a lot of ways to do it. I’ll show you my go-to method, plus a substitute in case you can’t find certain ingredients. Add 1 teaspoon of salt.
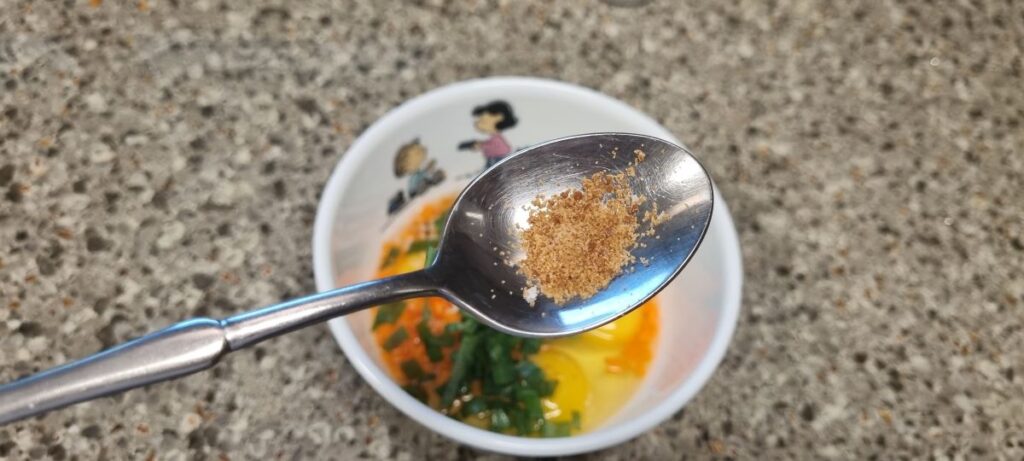
Add 1 teaspoon of beef bouillon powder (dasida) too. Dasida is easy to find in Korea, but it might be harder to track down elsewhere. If that’s the case, skip the salt entirely and just use 1 teaspoon of chicken stock powder instead — it gives you a similar flavor. Don’t add more than 1 teaspoon, or it’ll turn out too salty.
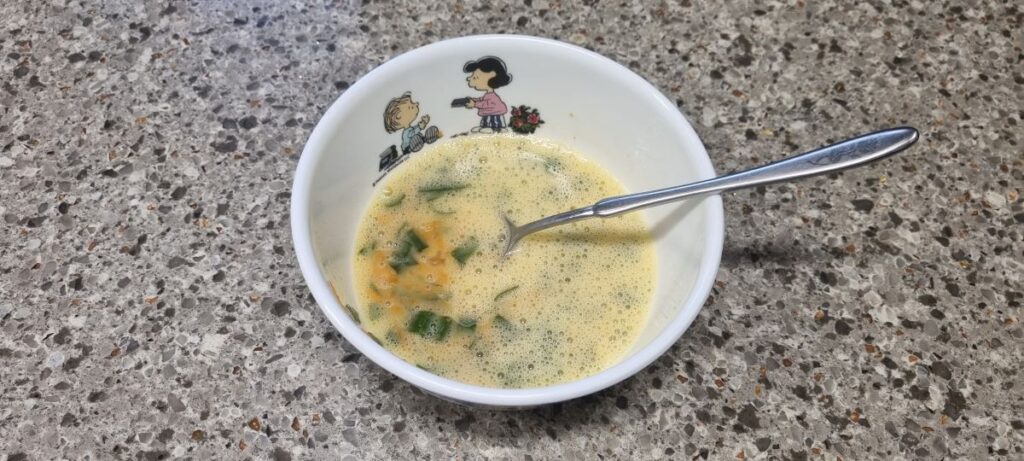
Now mix everything with a spoon. Stir for about a minute so the salt and bouillon fully dissolve, and to let the green onion release its juices — this makes the omelette even more flavorful.
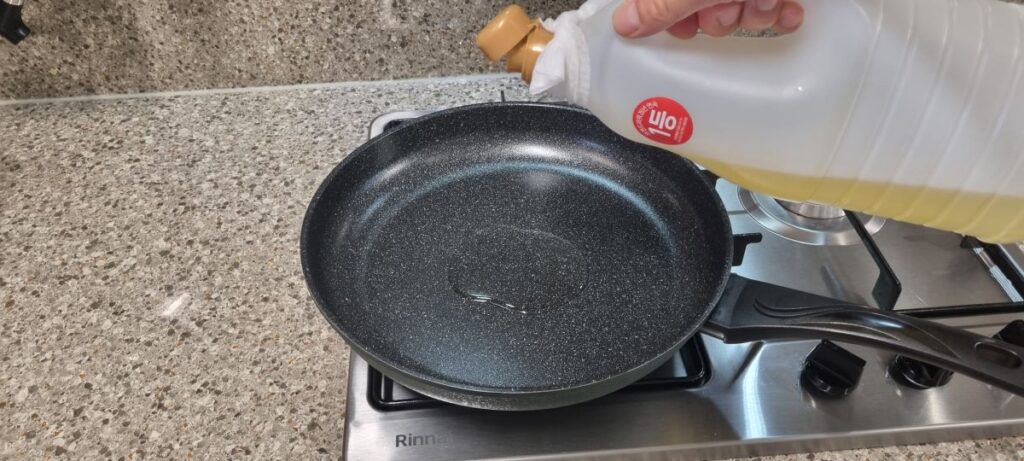
For the pan, either a round one or a square one works fine. Skip a wok-style pan since it makes flipping the eggs tricky — stick with a flat pan. As for size, something just a bit bigger than an adult’s palm is about right. One important thing: keep the heat on low, the lowest setting you’ve got. Cooking on low heat is really the key here — it lets the eggs and vegetables cook through slowly, which keeps them soft and evenly cooked. Add 3 tablespoons of cooking oil or olive oil to the pan. Wait about 10 seconds, then pour in your mixed egg mixture. Don’t skimp on the oil — if there’s too little, the eggs can stick when you go to roll them, so it’s better to use a generous amount. Once you pour in the eggs, spread them out thin and wide across the pan — that makes rolling much easier.
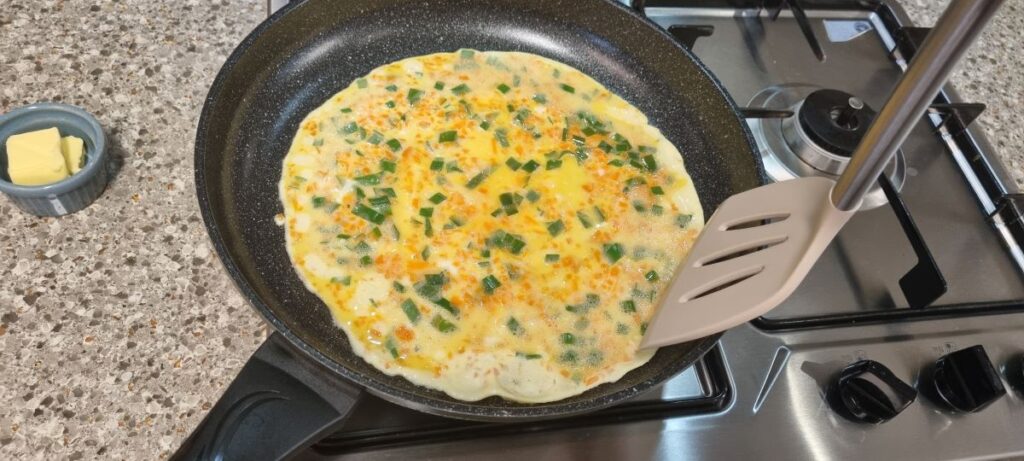
Once the eggs are about 30% cooked, start rolling from one end. If you wait until they’re more than 50% cooked, the eggs can tear as you roll them. So the trick is to start rolling while they’re still a little undercooked — that’s what gives you a nice, clean roll.
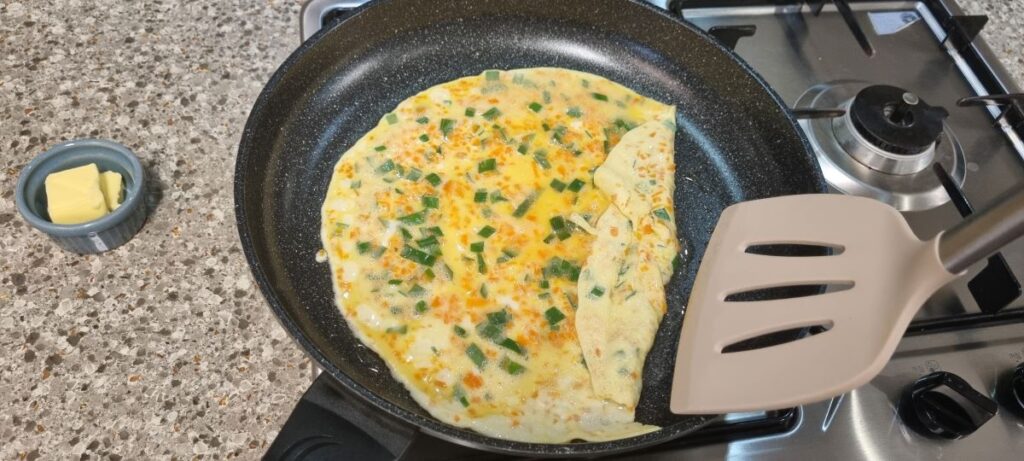
Use whatever spatula you normally have at home to flip and roll. If this is your first time making gyeranmari, you’ll probably find it tough to roll with just one spatula. Using two spatulas together makes it much easier. As for timing, roll once, wait about 10 seconds, roll again, wait another 10 seconds, and repeat — that pacing should work out well. The most important thing is keeping the heat on low the entire time.
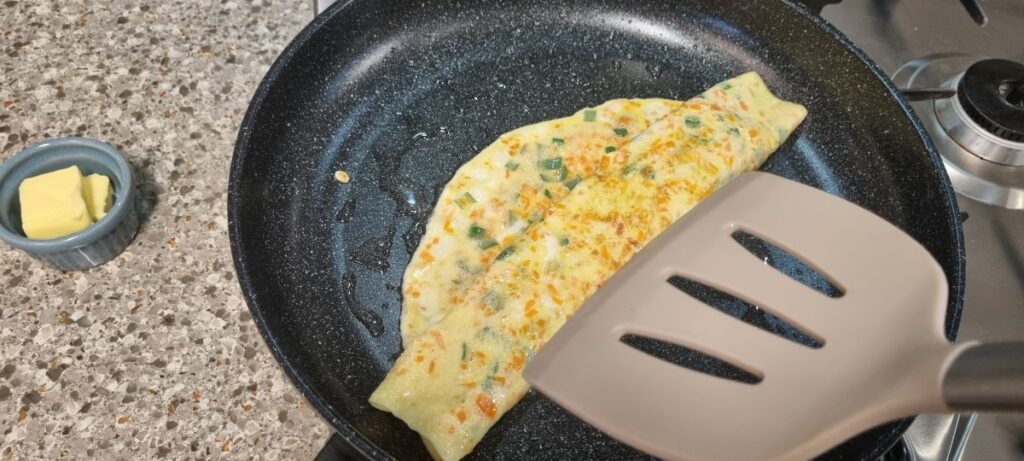
There’s a more advanced technique where you pour in the egg mixture 50% at a time, cook, roll, push the roll to one side, pour more egg mixture, and repeat. That method’s a bit tricky, so for this recipe, just pour all the egg mixture in at once and roll it straight through.
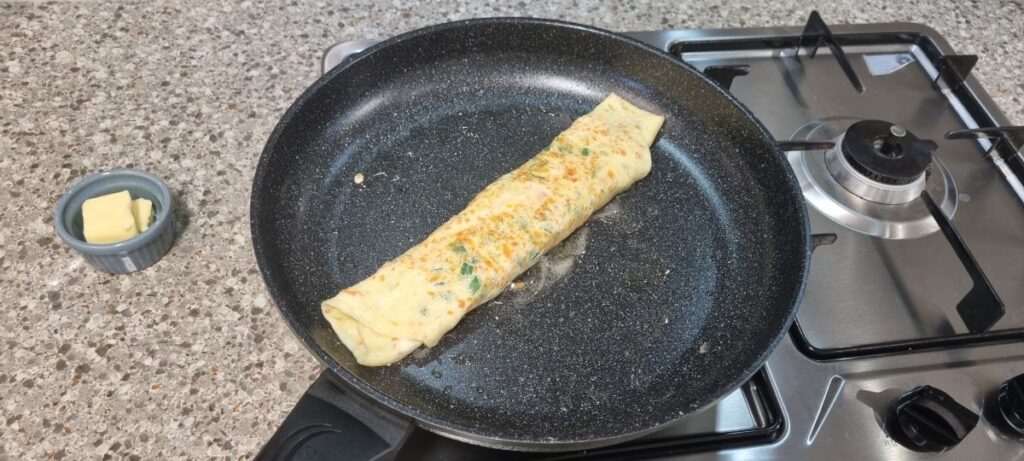
Once the eggs are fully rolled, flip the roll over. Add the 2 pats of butter you set aside — though 1 pat works too, since it’s really just there to add a bit of richness. I went with 2.
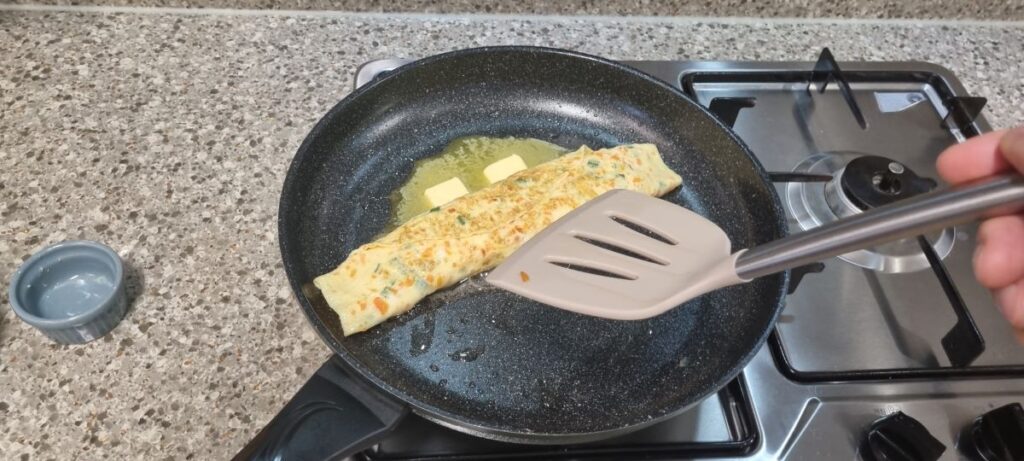
Keep the heat on low the whole time. As the butter melts, let it coat the omelette by flipping it back and forth so the melted butter covers all sides. If you don’t have butter at home, you can skip it, but it really does make the omelette taste even better.
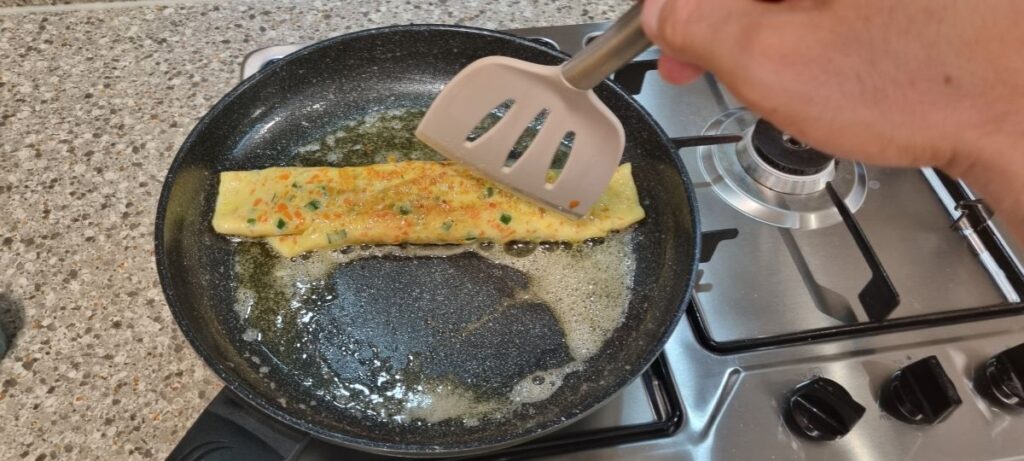
Once the butter’s melted and coated, cook for about 3 more minutes, flipping occasionally. Don’t overcook it — too much time on the heat will make the eggs dry and tough. A soft, tender gyeranmari is what you’re going for. After about 3 minutes, turn off the heat, then let the omelette sit in the pan for another 3 minutes. This gives the butter time to soak in and lets the roll cool down just enough — that’s what makes it slice cleanly and gives it that nice, bouncy texture.
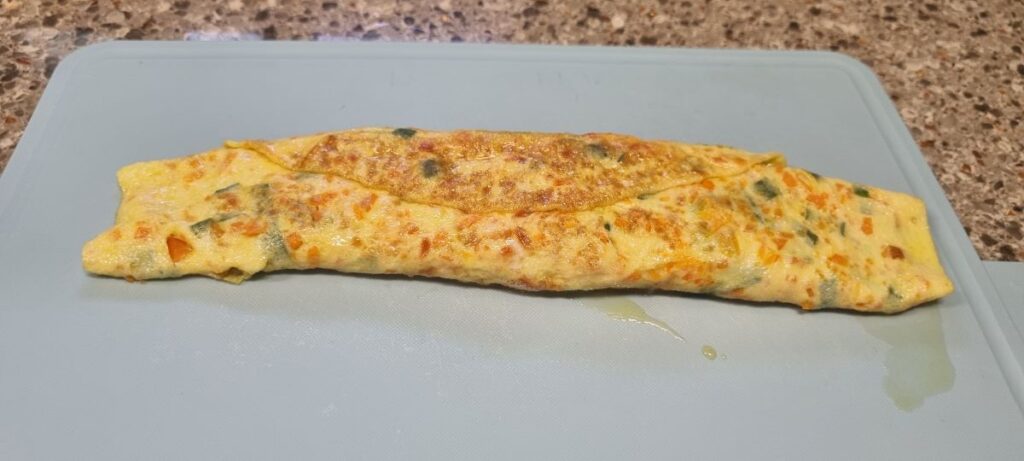
Next, transfer it to a cutting board — it turned out great. Now it’s ready. Slice it into bite-sized pieces with a knife.
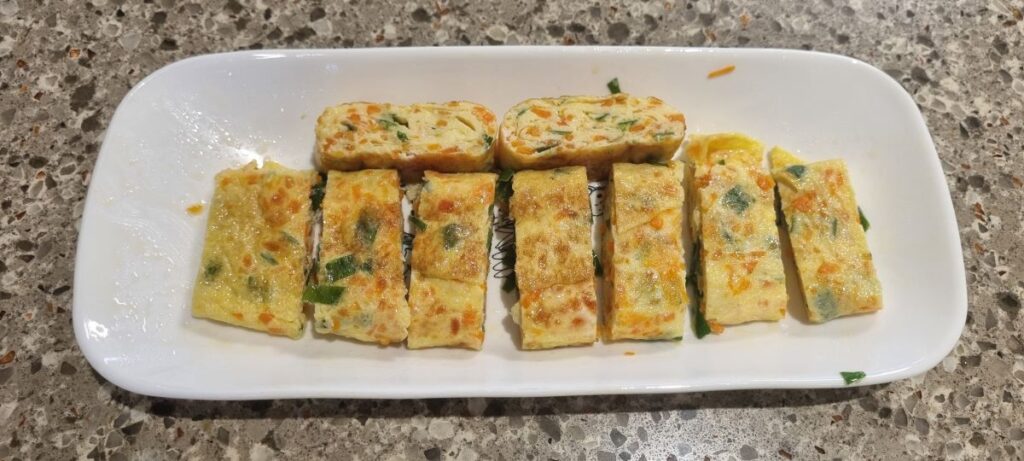
Once sliced, plate it up and you’re done. From prep to cook time, this whole recipe takes about 10 minutes. Gyeranmari is one of Korea’s most beloved side dishes — everyone from kids to grandparents loves it. Some people like to drizzle ketchup or mustard on top, depending on their taste. Personally, I love a cheesy version — for that, just add cheddar and mozzarella on top of the egg mixture right after pouring it into the pan, then roll it up the same way. Being able to switch things up like that is part of what makes Korean cooking so much fun. That wraps up how to make gyeranmari — enjoy your meal!